On this page
Table of Contents
If you want to understand where this material or tool fits into the bigger picture, start with the main guide: 🔹 “Electrical Materials 101: Wires, Breakers, Outlets, Tools, and Load Calculations”
It lays out the full landscape so this article feels more connected.
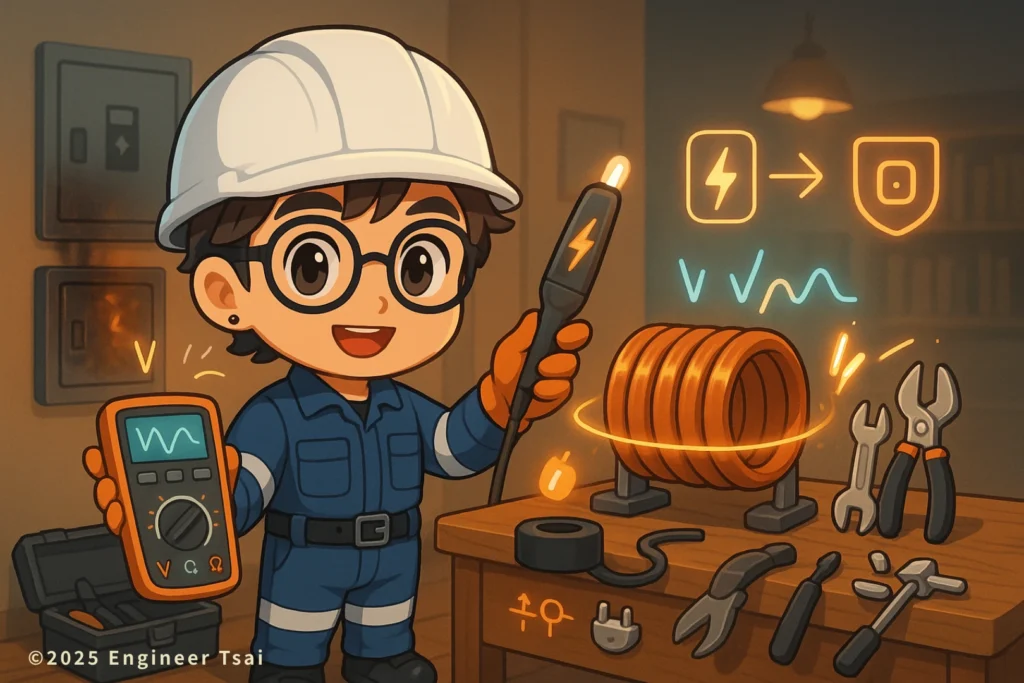
How do you actually use a voltage tester?
A lot of people only know one thing: “If it lights up, there’s power.”
If you’ve ever wondered how to use a voltage tester without getting in over your head, you’re in the right place. There are a few small details that, if you miss them, make it very easy to misread the result.
In this guide, we’ll walk through — in plain, everyday English — how to use a voltage tester safely at home, even if you’ve never opened an outlet cover before:
- A simple 3-step method you can remember whenever you’re learning how to use a voltage tester at home
- The difference between neon testers vs non-contact testers (NCVT)
- Common misreadings and how to double-check
- A short FAQ so you know when to stop and call an electrician
So next time you change a light fixture or remove an outlet cover, you’ve got one more layer of protection.
Quick Reference: How to Use a Voltage Tester in 3 Steps
- Correct way to use a voltage tester – 3 steps
- Verify your tester on a known live source first.
Go to an outlet or breaker you know is live and make sure your tester lights up / beeps normally. - Test the outlet / switch / wire you’re about to touch.
Use the proper method for your tool (neon vs non-contact). If it lights or beeps, treat it as possibly live. - Turn off the correct breaker and test again.
Go to your breaker panel, switch off the matching circuit breaker, then come back and re-test the same point with the same tester.
Only when it stays quiet (no light, no beep) should you start working.
- Verify your tester on a known live source first.
- “No light” ≠ “definitely no power”
A tester that doesn’t light up could mean: poor contact with your hand, very dry air, you’re on the neutral, low voltage, or the tester itself is bad.
When in doubt, verify with a multimeter or have a licensed electrician double-check. - Don’t force it on DC or low voltage
Most neon-style testers are designed for AC mains voltage (typical U.S. 120V / 240V).
If you need to test DC or low-voltage circuits (12V, 24V, etc.), use the right multimeter or dedicated tester instead.
People call this tool a lot of different names: voltage tester, test pen, test screwdriver, non-contact voltage tester (NCVT), voltage tester pen.
In this article, we’ll just call it a voltage tester, and step by step I’ll help you actually feel confident about how to use a voltage tester — without creating extra risk by misreading it.
Why Every Home Should Have a Voltage Tester (and Learn How to Use It)
Ever been in this situation?
You’re about to change a light, swap an outlet, or peek into the breaker panel. Your hand is hovering near the wires, and your brain whispers:
“Is this really off?
Am I sure there’s no power here?”
If you keep even a basic home voltage tester in your tool drawer and follow the 3-step method in this guide, you’ll quickly learn how to use a voltage tester as a 1-minute self-check that dramatically lowers your risk of getting shocked.
Why I recommend every household in the U.S. have one:
- Most people don’t feel comfortable using a full multimeter.
A voltage tester pen is way more intuitive — you pick it up, touch or approach the spot, and immediately get a red/green or beep/no-beep answer: “this might be live.” - From new construction homes to older houses, you’ll eventually run into loose outlets, aging wiring, or light fixtures you want to replace.
Checking with a tester before you put your fingers near the terminals is a simple, cheap habit that pays off. - Building a habit of “test for voltage → then work” matters more than any fancy gear.
It protects you from the most dangerous situation: you think it’s off, but it’s not.
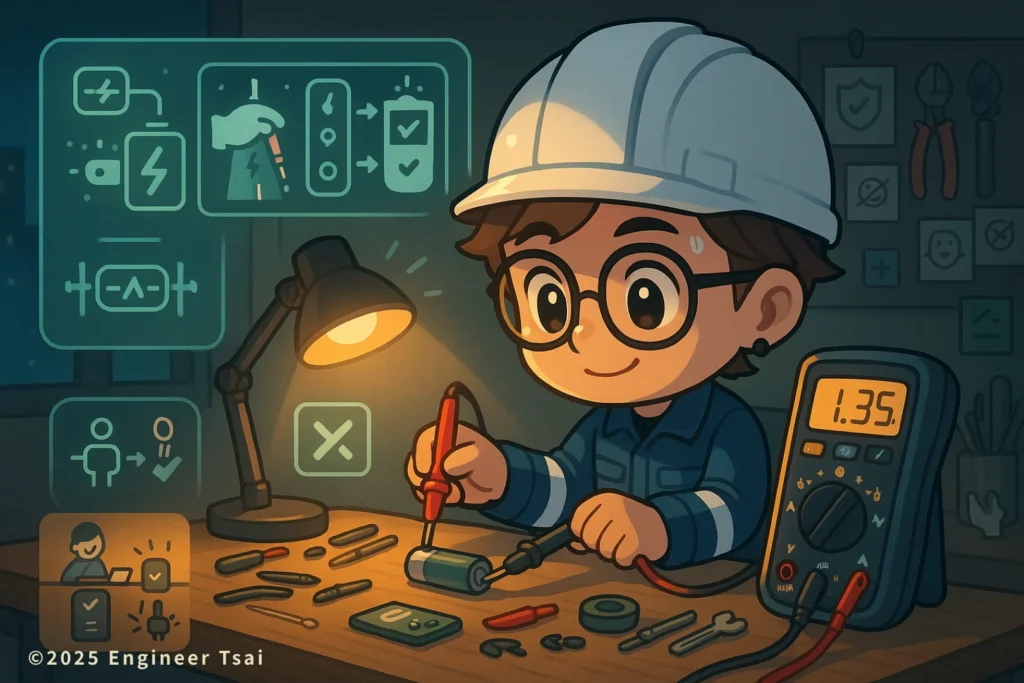
Step 1 – Verify Your Voltage Tester on a Known Live Source
Always follow the instructions that came with your specific voltage tester model, especially for how it indicates “live” and how to check the batteries.
Before you trust any reading, make sure the tool itself is actually working.
Go to a place that you’re sure has power, for example:
- The hot slot on a working 120V outlet
(In a typical U.S. receptacle, the narrow vertical slot is HOT, the wider slot is NEUTRAL, and the round hole is GROUND.) - A breaker or terminal inside the panel that you know is energized
(Only if you’re already familiar with safely opening the panel cover. If you’re not, stay with outlets.)
Then:
- Use your voltage tester on that known live point.
- Make sure it lights up / beeps the way the manual describes.
This first step is just to confirm:
“My voltage tester itself is good.”
Skip this, and you could have a dead battery, a broken internal component, or a bad connection — and mistakenly assume a circuit is off when it’s actually live.

Step 2 – Test the Outlet, Switch, or Wire You Care About
Once you’ve confirmed the tester works, now you move to the place you actually want to work on.
The exact motion depends on what kind of voltage tester you have:
- Neon-style voltage tester (test screwdriver)
- Touch the tip firmly to the metal conductor (screw terminal, bare copper, etc.).
- Use your other hand to touch the metal cap at the end of the handle so your body completes the circuit the tool expects.
- Watch for the little neon lamp to glow.
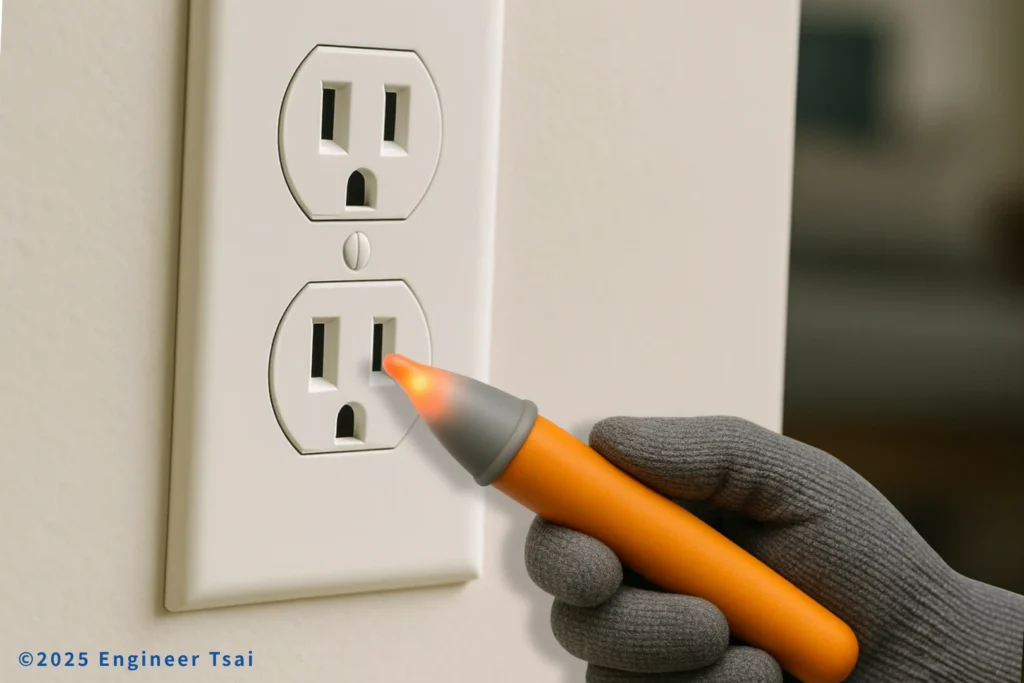
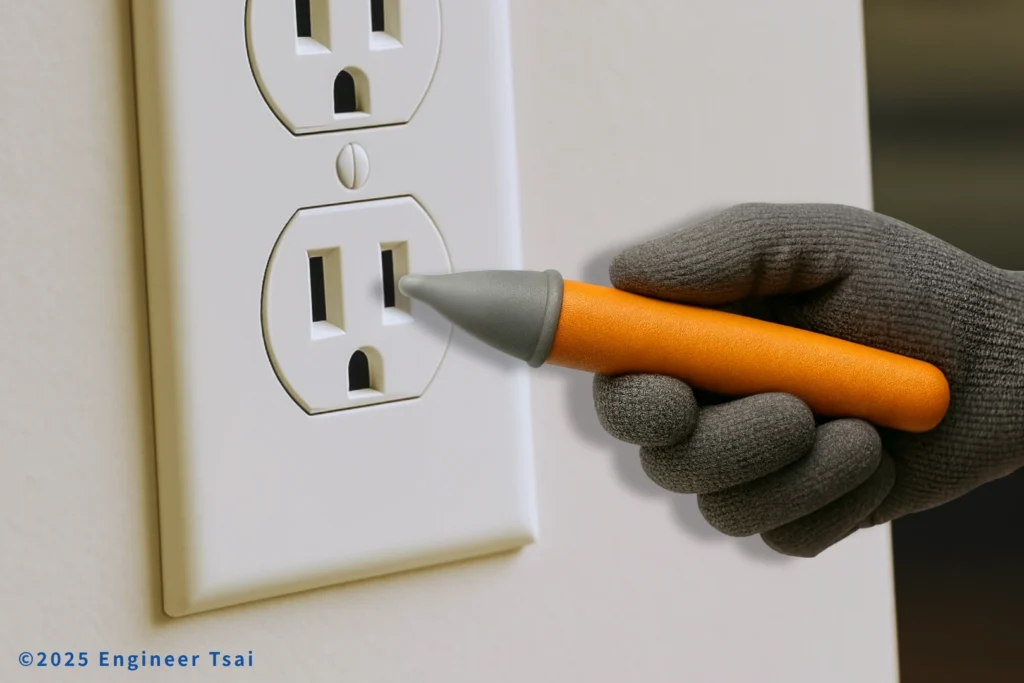
- Non-contact voltage tester (NCVT / voltage tester pen)
- Turn it on and wait for the “ready” indication (often a green light or a short beep).
- Hold the insulated handle and bring the tip close to the wire, cable jacket, or outlet slot.
- You usually don’t need to touch bare metal — just getting close is enough.
- Avoid covering the sensor area with your fingers; that can affect how it senses the electric field.
How to read the result
- Lights / beeps ⇒ “possibly live”
Treat it as there is voltage present and do not touch bare metal. - No light / no beep ⇒ “no obvious voltage detected in these conditions”
But remember: No indication does not guarantee the circuit is dead.
It only means that under the current grip, environment, and tool condition, the tester didn’t pick up a strong enough signal.
Step 3 – Turn Off the Breaker and Test Again (Safety Check)
Now comes the most important part that a lot of DIYers skip.
- Go to your breaker panel (service panel).
- Find the breaker that feeds that outlet / light / circuit.
- If the breakers are labeled, follow the label.
- If they’re not, you may have to test a few (or call a pro).
- Switch that breaker to OFF (or flip the main breaker, if you’re shutting down the entire house).
At this point, in theory, that wire or outlet should be de-energized.
But don’t stop there.
- Walk back to the exact same point you tested in Step 2.
- Use the same voltage tester, in the same way, and test again.
Only when:
- It was live in Step 2, and
- After turning off the breaker, it now shows no light / no beep
…do you treat that point as safe enough to begin loosening screws, removing the outlet, or handling the wire.
That “turn off → re-test” step is something good electricians do as a habit.
It’s how they avoid nasty surprises from mislabeled breakers, shared neutrals, or forgotten backfeeds.
How to Use a Voltage Tester? Neon vs Non-Contact (NCVT)
In the U.S. you’ll mostly see two kinds of simple home voltage testers:
- Neon-style voltage tester / test screwdriver
- Non-contact voltage tester (NCVT, “voltage tester pen”)
Here’s a quick side-by-side:
| Item | Neon-style tester (test screwdriver) | Non-contact voltage tester (NCVT) |
|---|---|---|
| How it works | Tip touches metal; current flows through internal resistor and your body, lighting a tiny neon lamp | Senses the electric field around a live conductor; tip only needs to get close |
| Main advantages | Very simple, cheap, easy to see when the lamp lights | Safer, no need to touch bare metal, usually more sensitive |
| Common misreads | Poor finger contact / very dry conditions → doesn’t light even though it’s live | Nearby wires or floating voltage → false positives (lights even when that wire isn’t the main source) |
| Good for | Quick checks on AC mains at exposed terminals (outlet screws, simple fixtures) | Scanning cables, outlets, switches to find which wires are likely live |
| Not good for | DC circuits, or low voltage (12V / 24V etc.) | Measuring exact voltage values (use a multimeter instead) |
| Correct usage | Verify on known live → test target → turn off breaker and re-test | Same 3-step method; avoid gripping the sensor tip |
For most U.S. homeowners, I usually suggest:
- Start with a good-quality non-contact voltage tester (NCVT) for everyday safety checks.
- Add a decent multimeter when you’re ready to learn a bit more and want actual numbers, not just “yes/no”.
Common Voltage Tester Misreadings (and How to Fix Them)
Situation 1: The tester doesn’t light up, but the circuit is actually live
Possible reasons:
- Your finger isn’t making good contact on the neon tester’s metal cap
- The air and your skin are very dry, so the tiny current path it relies on is too weak
- You’re testing the neutral instead of the hot conductor
- The voltage is right at the edge of the tester’s range
- The tester is old or partially broken
What you can do:
- Try a different test point (another outlet or the other slot).
- Adjust your grip and pressure, especially with neon testers.
- Re-check with a multimeter or a second tester.
- If you still aren’t sure, stop and call a licensed electrician.
Situation 2: The non-contact tester beeps everywhere — is it lying?
In tight spaces with a lot of wires, a non-contact voltage tester can get confused by:
- Adjacent live conductors that are bundled together
- Stray or “floating” voltage on unused or very long wires
What you can try:
- Compare the reaction on HOT vs NEUTRAL vs GROUND on a known good outlet
- Temporarily switch off nearby circuits and test again
- Move the tip around and see which specific wire consistently triggers the tester
If you can’t clearly tell what’s going on, that’s your signal to slow down and get help.
Situation 3: The tester itself is out of spec
Over time:
- Neon lamps can age and dim, or internal resistors can fail.
- Non-contact testers can develop weak batteries or drifting components.
What to do:
- Make it a habit to check your tester on a known live outlet every so often.
- If the behavior feels inconsistent, the case is cracked, or you just don’t trust it…
→ Replace it.
This is not a tool where you want to squeeze out the last few cents.
Safety Tips Before and After Using a Voltage Tester
Even with a good tester and the right method, a few habits make a big difference:
- In wet or damp locations — bathrooms, kitchens, laundry rooms, outdoor areas —
wear insulated gloves if possible, keep your shoe soles dry, and avoid standing barefoot on wet concrete or tile. - No matter how confident you feel, always follow a simple pattern: verify → test → turn off → re-test:
- Test on a known live source
- Test the target point
- Turn off the breaker
- Test the same point again
- In U.S. homes, outlets in bathrooms, kitchens, garages, basements, and outdoor areas should be protected by GFCI (Ground-Fault Circuit Interrupter) outlets or breakers.
Get into the habit of pressing the TEST and RESET buttons on your GFCI outlets regularly to confirm they still trip and reset. - Anything involving the inside of the panel, multi-wire branch circuits, 240V appliances, or three-phase / commercial equipment has much higher risk.
If you’re not trained for that level of work, it’s safer to leave it to a professional electrician.
If you ever feel unsure about how to use a voltage tester in a specific situation, treat that doubt as a safety signal: pause, step back, and get help instead of pushing through.
FAQ – Common Questions About Using a Voltage Tester
Q1. If my voltage tester doesn’t light up, does that mean there’s definitely no power?
Not necessarily.
Poor finger contact, very dry air, touching the neutral instead of the hot, borderline voltage, or a failing tester can all make a neon or non-contact tester stay quiet even though there’s still risk.
What to do:
Try another test point or adjust how you hold the tool.
Double-check with a multimeter if you’re comfortable using one.
When in doubt, call a licensed electrician.
A voltage tester is great as a first safety check, but it must not be your only proof that a circuit is safe.
Q2. Can I use the same voltage tester for both 120V and 240V?
Usually yes — as long as it’s rated for that range.
Most household neon testers and non-contact pens are designed for AC mains and are marked with something like 100–250V AC or 90–600V AC.
Before you use it:
Read the voltage rating printed on the tool.
Only use it within the voltage range it was designed for.
If you need to test:
DC circuits (like battery systems, solar, or electronics):
use a multimeter or a dedicated DC tester.
Low-voltage circuits (12V, 24V, doorbells, thermostats, etc.):
many simple neon testers won’t respond reliably — again, a multimeter is the better choice.
Q3. What’s the difference between a non-contact voltage tester and a neon tester?
A quick way to picture it:
A neon tester has to physically touch the metal, and it relies on a tiny current flowing through your body and an internal resistor to light up a small neon bulb.
It’s simple and cheap, but you’re closer to the live parts.
A non-contact voltage tester (NCVT) senses the electric field around a live conductor.
The tip only needs to get close to the wire or outlet slot — you don’t have to touch bare metal.
Key differences:
Non-contact testers are generally safer and more comfortable for homeowners.
Neon testers are inexpensive and simple, but require more care in how you hold and where you touch.
For most U.S. homeowners, I’d suggest:
Start with a non-contact voltage tester, then add a good multimeter when you’re ready.
Q4. Can I use my voltage tester as a screwdriver?
I don’t recommend it.
Some neon testers are shaped like small screwdrivers, but they’re designed for testing, not for torquing screws.
If you use them as a regular screwdriver:
You can twist or damage the tip and internal parts.
You might compromise the insulation or safety of the tool.
When you need to actually tighten or loosen screws, use a proper insulated screwdriver.
Let the voltage tester do one job only: tell you whether something might be live.
Q5. Do I need to replace my voltage tester regularly?
Yes, it’s a good idea.
For neon testers: the lamp and resistors can age, making the light dim or unreliable.
For non-contact testers: batteries weaken, and electronics can drift over time.
Good habits:
Every so often, test your voltage tester on a known live outlet to verify it still behaves normally.
If it ever feels inconsistent, gets damaged, or you “just don’t trust it” anymore — replace it.
This is not the place to save a few dollars.
Q6. Is it really safe for a regular person to use a voltage tester?
Used with the right mindset and steps, a voltage tester is one of the most accessible safety tools for homeowners.
But keep these points in mind:
A voltage tester is great for “Is this probably live?”,
not for “This is 100% guaranteed safe.”
Anything to do with:
Inside the breaker panel cover
240V appliances (dryers, ranges, A/C)
Multi-wire branch circuits
Commercial / industrial equipment
…is significantly more dangerous than a simple outlet or light.
Whenever you feel unsure, the safest move is:
Shut off the main power and call a licensed electrician.
Q7. What’s the simplest way to remember how to use a voltage tester?
If you only want the bare-bones version of “how to use a voltage tester,” remember these 3 steps:
Verify your tester on a known live source.
Try it on a working outlet’s hot slot or a known live terminal in the panel, and make sure it lights up / beeps.
Test the outlet, switch, or wire you care about.
If it reacts, assume it might be live and don’t touch bare metal.
Turn off the breaker and re-test the same point.
Only when the tester stays quiet (no light, no beep) on the exact same spot do you start taking things apart.
That’s the most practical, real-world version of how to use a voltage tester safely at home.
Next Steps & Related Guides
If you want to keep building your home electrical safety skills, these are the natural next topics:
- How to recognize a short circuit (and what symptoms to watch for before you touch anything) – coming soon
- Where is the main shutoff on your panel?
Understanding main breakers vs. individual branch circuits – coming soon - How to use a multimeter for AC / DC voltage
Step-by-step, plus safety tips – coming soon - What is a GFCI outlet and why kitchens & bathrooms need it – coming soon
For official guidance on electrical safety at home, you can also check these resources:
- NFPA: Electrical safety in the home – basic checklists and warning signs to watch for.
- OSHA: Working safely with electricity – fact sheets and tips on avoiding electrical shock hazards.
And if you’d like a printable, guided checklist:
If you try these steps and still feel unsure about how to use a voltage tester in your own home, or you run into a weird situation, you can always:
- Take a picture (without touching anything bare)
- Write down what you tested and what the tester did
- And discuss it with a local electrician
Better one “over-careful” question than one preventable accident.
If you’re just starting to learn how to use a voltage tester, treat every doubt as a safety reminder, not a weakness.
Better one “over-careful” question than one preventable accident.
Read next in this topic
- Beginner’s Guide: Five Electrical Tools That Make Home Maintenance Easy
- How to Use a Multimeter: 7 Steps to Measure Voltage and Current Safely
- How to Use a Voltage Tester Safely: 3-Step Guide Before You Touch Any Wires
- Residential Electrical Materials 101: A Beginner-Friendly Materials Map