
On this page
Table of contents
Where to install SPD Type 1 Type 2 Type 3 is one of the most misunderstood parts of surge protection. An SPD isn’t a lightning rod. It deals with surges/transients caused by lightning (direct or nearby) or switching events, and its job is to divert that fast, sharp energy and clamp it to a level your equipment is more likely to survive.
So Type 1 / Type 2 / Type 3 isn’t “premium vs budget.” It’s about where it goes and which segment of the electrical system it’s responsible for: the closer to the service entrance, the more it behaves like the first gate; the closer to the device, the more it acts like the final buffer. In this post, I’ll use one table plus real-world installation logic to help you actually understand where to install SPD Type 1 Type 2 Type 3—and the 3 most common mistakes that make an SPD look “useless” even when you bought a good one.
▶️ Watch now: Type 1 vs Type 2 vs Type 3 SPD placement in 60 seconds
Start with the video to get the full picture: you’ll see what “first line of defense” vs “final buffer” really means inside a panel—and why a big-name SPD can still feel like it did nothing (most of the time it’s not the device, it’s the wiring and lead length that kills the performance).
In the video, I’ll use the most common scenarios: after a thunderstorm your router, TV, or refrigerator control board dies—or in a plant, a VFD trips for no obvious reason. Then we map those problems to what Type 1 / Type 2 / Type 3 are each meant to handle.
Where to Install SPD Type 1 Type 2 Type 3 in a Residential or Commercial Electrical System
If you’ve ever asked “which SPD should I buy?”, the better question is usually where to install SPD Type 1 Type 2 Type 3 in your system. A correct location with short leads can outperform an expensive device installed with long, loopy wiring.
Chapter 1 — What an SPD actually protects: your electronics, not “you won’t get struck by lightning”
Most people buy their first SPD (surge protective device) after the same kind of pain: a storm rolls through, and suddenly the TV, router, security camera, or even an A/C control board is dead. The instinct is: “I’ll buy the strongest one and never worry again.”
But an SPD’s real role is closer to this: it diverts a fast, sharp, nasty transient so it doesn’t slam directly into the electronics inside your devices. It improves your equipment’s survival odds—it doesn’t make lightning “disappear.” And because surges are extremely fast and highly sensitive to the path they take, success often has less to do with price and more to do with placement, wiring route, lead length, and bonding/grounding quality.
Safety note: SPDs are part of the electrical distribution system and involve wiring, bonding/grounding, and protection coordination. This article focuses on decision logic and placement concepts. For actual installation—especially at the service entrance and inside panels—use a licensed electrician and follow the product instructions plus local electrical code.
Chapter 2 — Quick table: where Type 1 / Type 2 / Type 3 SPDs go and what each one does
| SPD type | Where it goes | What it primarily handles | Most common use | One-line memory hook |
|---|---|---|---|---|
| Type 1 | Service entrance / line side or near the main disconnect (exact point depends on system boundary) | Large “incoming” surges (including lightning-related surges) | Higher lightning risk areas, overhead service, sites with external lightning protection systems | First gate: dump the big energy early |
| Type 2 | Main panel / subpanel (inside the panel or immediately adjacent) | Distribution-system surges + leftover energy clamping | The workhorse for most homes and small businesses | Main defense: stabilize the whole building |
| Type 3 | At the receptacle / right in front of the device (surge strip, surge outlet, rack PDU) | Small residual spikes close to sensitive loads | Routers, NAS, TVs, PCs, PLCs, servers, automation gear | Final buffer: the closer to the device, the better |
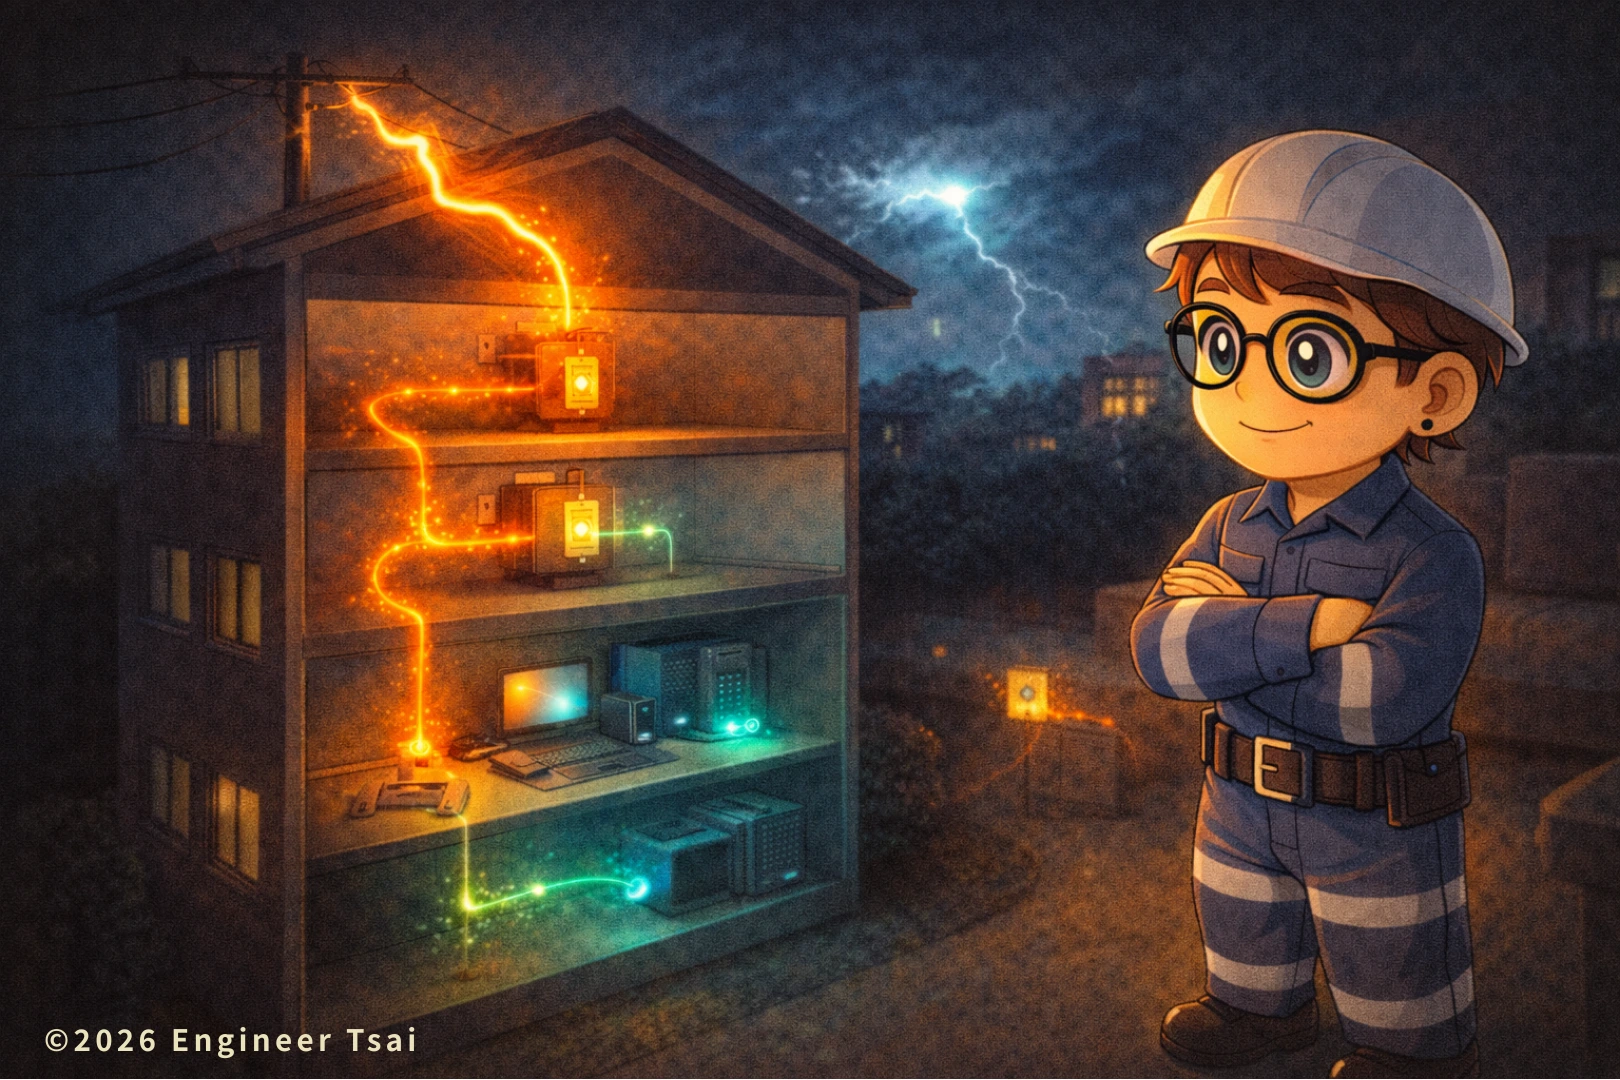
Think of SPDs as a three-stage shock absorber: Type 1 dumps the big hit early, Type 2 clamps what remains at the panel level, and Type 3 protects sensitive devices at the point of use. It’s not “pick one.” You choose the stages based on your risk level and how valuable/fragile your equipment is.
Chapter 3 — Where Type 1 goes: service entrance / around the main disconnect (the first gate)
The core idea of Type 1 is simple: handle the surge right when it enters the building. That’s why it’s typically installed close to the service entrance—near the meter and main disconnect or at the service equipment (the exact location depends on how your service is configured).
Quick reminder: service-entrance placement involves code boundaries, bonding/grounding, and coordination with the main disconnect. Have a licensed electrician determine the exact point—don’t copy a random diagram from the internet and assume it matches your service setup.
When do you actually “need” Type 1? The most common situations are: higher lightning risk (frequent storms, open areas), overhead utility service, or buildings with an external lightning protection system (air terminals/lightning rods, down conductors, grounding network). In those cases, “incoming energy” can be larger—so if the first gate doesn’t dump it early, Type 2/3 have a tougher job.
Think of Type 1 like this: it may not bring the surge to zero, but it takes the worst punch off the table. And for Type 1 to work well, it relies heavily on bonding/grounding quality and a short, direct path. If bonding vs grounding still feels fuzzy, start here first because SPD performance depends on it: Grounding vs bonding: 3 must-know electrical safety points for bathrooms and outdoor areas.
Chapter 4 — Where Type 2 goes: main panel / subpanel (the workhorse for most homes)
If you ask which SPD gives the best bang for the buck in a typical home, it’s usually Type 2. Why? Because it lives where most surge problems need a “system-wide clamp”: the main panel / subpanel. Its job is to stabilize the whole building so a surge doesn’t roam freely through every branch circuit.
Real-life reasons people install Type 2 are very practical: storms that keep killing electronics, or repeated switching events from nearby large motors (elevators, pumps, construction equipment) that create more spikes. The value of Type 2 is that it clamps surges at the panel level, so downstream receptacles see less leftover energy.
One important reminder: don’t mix up circuit breakers and SPDs. Breakers protect against overloads/short circuits; SPDs deal with surges. Different jobs, different physics. If panel labels are confusing, people often “jump levels” and buy the wrong SPD for the situation. Build the basics first: How to read circuit breaker markings (20A, trip curves, and what they actually mean).
Chapter 5 — Where Type 3 goes: at the receptacle / right in front of the device (the final buffer)
Type 3 is what most people have seen: surge protector power strips, surge receptacles, and rack PDUs. Its core value is one thing: the closer it is to the device, the better it can act as a final buffer.
But Type 3 is also the easiest to misuse because it “looks plug-and-play.” If you only buy Type 3 for a bedroom and skip Type 2 at the panel, a bigger surge can turn Type 3 into a tiny umbrella in a downpour. It may still help, but it gets stressed harder—and it won’t last as long.
A more reliable setup is usually: Type 2 at the panel as a foundation, then Type 3 only for your most sensitive / most expensive / least-tolerant gear (router, NAS, PC, DVR/NVR, PLC, servers, automation controllers). That’s when you’ll actually feel the difference—and it’s also the most practical answer to where to install SPD Type 1 Type 2 Type 3 without wasting money.
Chapter 6 — The make-or-break rule: shorter leads work better (bonding, wiring, coordination)
There’s one sentence SPDs hate: “I installed one, but it didn’t seem to do anything.” In the field, the most common reason isn’t a bad product—it’s wiring that destroys performance. Surges are extremely fast, and they’re sensitive to inductance. If you use long leads, add extra bends, or make a loop, you’re basically putting a “speed bump” in front of the SPD.
Here’s the picture: an SPD needs a short, straight, clean path back to the bonding/grounding system so it can divert energy quickly. Shorter, straighter, fewer bends = better performance. Longer, loopy, snake-like routing often turns the SPD into “peace of mind hardware” instead of real protection.
A field rule you can remember: straight if you can, short if you can, never make loops. If you hit those three, your SPD performance usually won’t be disappointing.
Also, combining Type 1/2/3 introduces a practical concept called coordination: the upstream stage takes the bigger hit so the downstream stage doesn’t get blown up. That’s why many sites don’t just buy “the biggest SPD”—they design staged protection.
If your home also struggles with nuisance tripping or “the breaker keeps popping,” learn a safe self-check workflow first: What to do when your home keeps tripping breakers: a practical self-check flow.
Chapter 7 — The 3 most common mistakes: you “installed one,” but you also “killed its performance”
Mistake #1 — Relying on Type 3 (surge strip) and assuming the whole house is protected
Type 3 is a final buffer, not the main line of defense. Without Type 2 at the panel, Type 3 gets overworked fast.
Mistake #2 — Installing the SPD far away with long leads and lots of bends
A surge isn’t slow current. It cares about the path. Long leads and extra bends add inductance and reduce how effectively the SPD can clamp.
Mistake #3 — Ignoring bonding/grounding, then blaming the SPD
An SPD must divert energy somewhere. If bonding/grounding is poor, that “somewhere” becomes uncertain. If your grounding picture isn’t solid yet, read this first to avoid expensive confusion: Grounding vs bonding: 3 must-know electrical safety points for bathrooms and outdoor areas.
One more thing that helps Rank Math (and also helps readers): say it plainly once—where to install SPD Type 1 Type 2 Type 3 is mostly about staged protection plus short leads, not about buying “the biggest unit.”
FAQ — Where to install Type 1 / Type 2 / Type 3 SPDs (common questions)
Q1: Do I need Type 1 + Type 2 + Type 3 in a home?
A: Not necessarily. Most homes start with a Type 2 SPD at the main panel, then add Type 3 for sensitive devices. Type 1 is more common in higher lightning-risk areas, overhead service, or buildings with external lightning protection systems.
Q2: I already have a surge protector power strip (Type 3). Do I still need Type 2?
A: It depends on your goal. If you want to stabilize the whole building, Type 2 at the panel is the workhorse. Type 3 is the final buffer close to the device. Using both is often more effective than relying on Type 3 alone.
Q3: Does an SPD make me 100% safe from surge damage?
A: No. An SPD reduces risk, but performance depends heavily on placement, lead length, wiring route, bonding/grounding, and staged coordination. A bad install (especially long leads) can “eat” most of the protection.
Q4: Why did my equipment still fail even though I installed an SPD?
A: Common reasons include: only using Type 3 without Type 2, long/loopy wiring that reduces clamping performance, poor bonding/grounding, or a surge energy level beyond what the system/equipment could withstand. Have a licensed electrician evaluate coordination and installation.
Q5: Do SPDs need maintenance or replacement?
A: Many SPDs include a status indicator window/LED. Surge handling is a wear-out job—after repeated events, an SPD can reach end-of-life and need replacement. Check the indicator periodically and follow the manufacturer’s guidance.
Q6: If I install a Type 2 SPD in a panel, do I also need upstream overcurrent protection (breaker/fuse)?
A: Many Type 2 SPDs require or recommend upstream overcurrent protection—not to “increase surge protection,” but to provide a safer failure mode if the SPD is damaged or overstressed. In practice, follow the SPD manual’s specified backup fuse/MCB requirements and have a licensed electrician coordinate it with your panel and wiring.
📌 Recommended reading
🔹Grounding vs bonding: 3 must-know electrical safety points for bathrooms and outdoor areas
SPD performance depends heavily on bonding/grounding. This article gives you a clearer mental picture of where current and surge energy can travel.
🔹How to read circuit breaker markings: what 20A and trip curves actually mean
Don’t mix up breaker protection with surge protection. Understanding your panel labels makes SPD selection much less confusing.
🔹How to identify receptacle wiring and grounding: hot/neutral/ground in 3 minutes (and avoid dangerous mistakes)
Type 3 is used at the point of use. Get the outlet/grounding basics right so “protection” doesn’t become a safety hazard.
🔹Home electrical safety overview: shorts, ground faults, old wiring, and what to do during outages
If you want one “save this” guide to cover home electrical safety end-to-end, this is the comprehensive roundup.
References
🔹 IEC 61643-11 – Low-Voltage Surge Protective Devices Standard
— International SPD performance classification reference.
🔹 NFPA 70® – National Electrical Code (NEC)
— U.S. electrical installation standards governing surge protective devices.
🔹 UL Solutions – Surge Protective Devices (SPD) Certification
— Testing and listing requirements for SPDs in North America.
🔹 NEMA – Surge Protective Devices Application Guide
— Industry guidance on SPD selection and coordination.
If you want, leave a comment and tell me what you’re trying to protect most: whole-home appliances, or sensitive gear like a router/NAS/security system/PC. If you share your setup (home vs shop vs plant, overhead vs underground service, and whether you have an external lightning protection system), I can help you map out the most practical answer to where to install SPD Type 1 Type 2 Type 3—so it’s effective and not a waste of money.
Read next in this topic
- What Is a Short Circuit? 7 Things Every Homeowner Should Know
- Smart Home Energy Management: A Simple Starter Guide for Safer, Cheaper Power at Home
- What Is Electrical Grounding? A Simple Guide to Safer Power at Home
- How to Choose Home Lighting: A Practical Guide from an Engineer Who Learned the Hard Way
- Home Electrical Safety: Turning Off Your Main Breaker Made Simple
- Home Electrical Safety and Power Outage Preparedness: A Practical Guide for U.S. Households
- What to Do When Your Breaker Keeps Tripping at Home
- How to Avoid Electrical Fires When Using Smart Outlets at Home
- From Power Outages to Food Shortages: Hurricane Prep Made Simple
- 6 Common Signs of Electrical Problems in Your Home (And What to Do First)
- Loose Electrical Outlet? Here’s How to Repair It Safely
- Top Mistakes in Home Electrical Setup (and How to Fix Them)
- Do Home Wires Really Wear Out? The Truth About Old House Wiring In The U.S.
- How to Weatherproof Your Home: Windows and Doors Made Easy
- Static Shock in Winter? 5 Causes + 5 Fixes (Home + Clothes)
- Electric Meter Reading Explained (5-Step Guide): What kWh Really Means on Your Bill
- Home Electrical Safety in the AI Era: From Short Circuits to Old Wiring (and Your First 0–3 Months as an Electrician)
- How to Choose an Extension Cord Safely: 5 Rules to Prevent Overheating
- Home Electrical Panel and Outlet Guide: How to Plan Safer Circuits for Your Home
- Same Breaker Keeps Tripping? 7 Real Reasons (Wattage, Inrush, Loose Connections)

